So, you’re setting up an Amazon Fire tablet for your little tech enthusiast. Don’t worry if you’re feeling a bit daunted by the settings and parental controls—we’re here to make it super easy. Fire tablets are packed with family-friendly features that help keep things safe and age-appropriate. Pro tip: The kid and adult versions are exactly the same, except that the kids’ one comes with a durable case and a longer warranty, so this guide will work for both! In just a few steps, you’ll have a tablet that’s ready for your kids to learn, play and explore, all while you stay in control. Let’s dive in!
{{subscribe-form}}
Step 1: Power Up and Get Connected
- Turn on the Tablet: Hold down the power button until you see the Amazon logo. Make sure you’re connected to Wi-Fi because you’ll need it to finish the setup.
- Sign in to Your Amazon Account: Either use your existing Amazon account or create a new one just for this tablet. (This can be handy if you want to keep things like shopping and recommendations separate!)
- Choose a Strong Password: To keep your settings secure, pick a strong password that only you know.
Step 2: Create a Kid Profile
Amazon Fire tablets allow you to create dedicated profiles for kids, giving you control over what they can access and how long they can use the tablet.
- Go to the Settings Menu: Swipe down from the top, tap on “Settings,” then look for Profiles & Family Library.
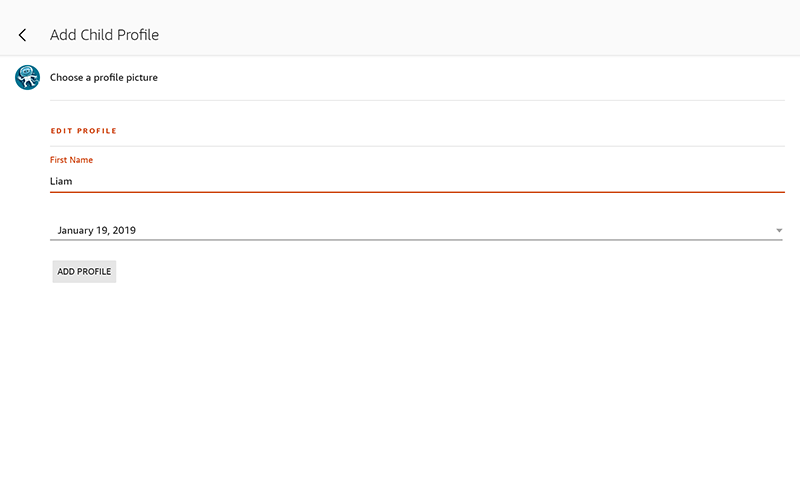
- Add a Child Profile: Tap “Add Child” and fill in the details for your kiddo. You’ll be able to set age-appropriate content and adjust access for different features.
- Customize the Content: Based on your child’s age, Amazon will suggest books, apps and games that are kid-friendly. Feel free to review and adjust as you see fit.

Step 3: Set Up Parental Controls
Parental controls are key to creating a safe space for your child. Here’s how to get them in place:
- Find the Parental Controls Menu: Go to Settings > Parental Controls.
- Toggle On Parental Controls: Set a PIN that only you know. This PIN will be needed to change parental settings and make in-app purchases, so it’s important that you keep it safe.
- Customize Access: You can manage access to things like web browsing, social media and in-app purchases. For younger kids, blocking these features can help create a safer experience.

Step 4: Enable Screen Time Limits
You can manage screen time with Fire’s built-in settings. Here’s how:
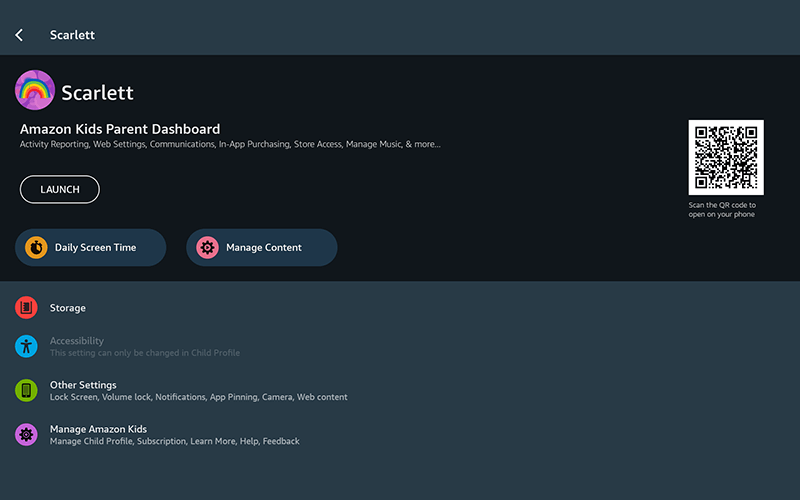
- Set Daily Goals & Time Limits: In the Child Profile settings, you can set daily screen time limits, educational goals and even bedtime settings.
- Customize per Activity: Want them to read a bit more before watching videos? You can set specific limits for reading, apps and videos, so they get a variety of activities.

Step 5: Familiarize Yourself with Monitoring Features
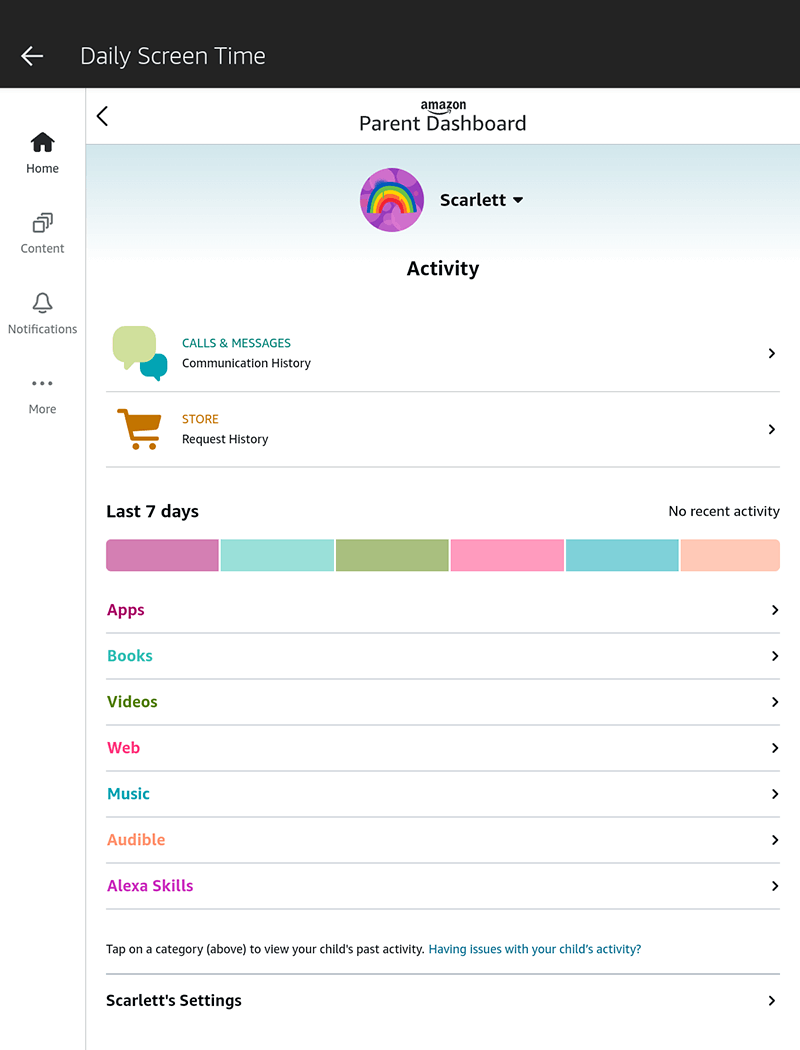
Amazon Fire tablets offer activity monitoring so you can check in on what your child’s doing.
- Use the Parent Dashboard: Access this from any browser. You can view your child’s activity, see what apps they’re using and adjust settings remotely.
- Talk About Usage Together: Checking in together can be a good opportunity to talk with your child about healthy tablet use, what they enjoy and any questions they might have.

Step 6: Explore Amazon Kids+
This is an optional step if you want to explore some kid-friendly content. Amazon Kids+ offers a ton of books, videos, apps and games for a monthly fee. If you want to enable it:
- Sign Up for Amazon Kids+: Go to Settings > Parental Controls > Amazon Kids+. You’ll see options for content based on age.
- Choose Age-Appropriate Content: Amazon Kids+ tailors recommendations based on your child’s profile, so they’ll have access to just-right content.
With these settings in place, your child’s Amazon Fire tablet will be ready for fun and exploration—all with you in the driver’s seat. And remember, the right settings can always evolve as your child grows!
{{messenger-cta}}


